")
Why Developing Black & White Film at Home is Easier Than Color Film
Developing black and white film at home is far easier than developing color film. With fewer chemicals, less strict temperature control, and a more forgiving process, it’s the perfect starting point for anyone interested in film photography.
How to Develop Black & White Film at Home
Developing your own black & white film at home is a rewarding and cost-effective way to take control of your photography. Here’s a step-by-step guide to help you get started:
What You Need
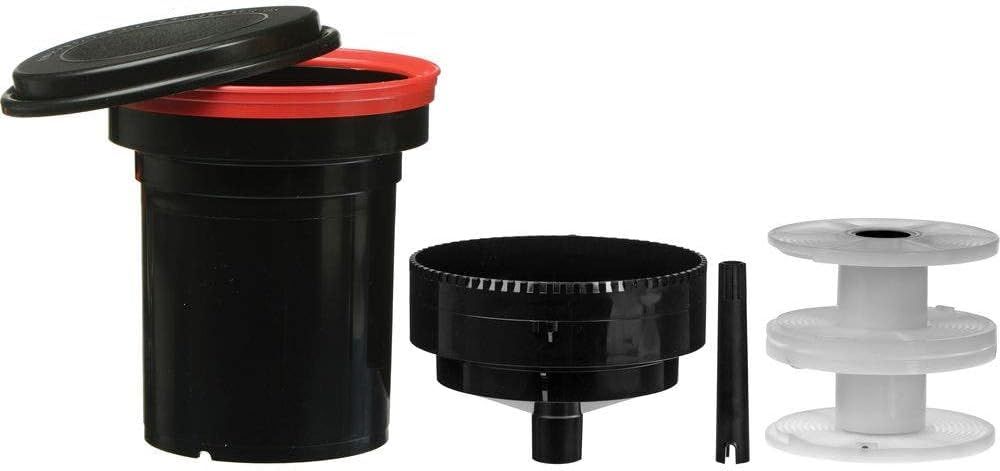
- Film Developing Tank – A light-tight tank for processing film.
- Film Reel – Holds the film inside the tank.
- Developer – The chemical that brings out the image.
- Stop Bath – Stops the development process (water can also be used).
- Fixer – Makes the image permanent.
- Thermometer – To ensure correct chemical temperatures.
- Measuring Jugs – For mixing and measuring chemicals.
- Timer – Helps track developing, stopping, and fixing times.
- Changing Bag (Optional) – A dark bag for loading film into the tank.
Step-by-Step Process
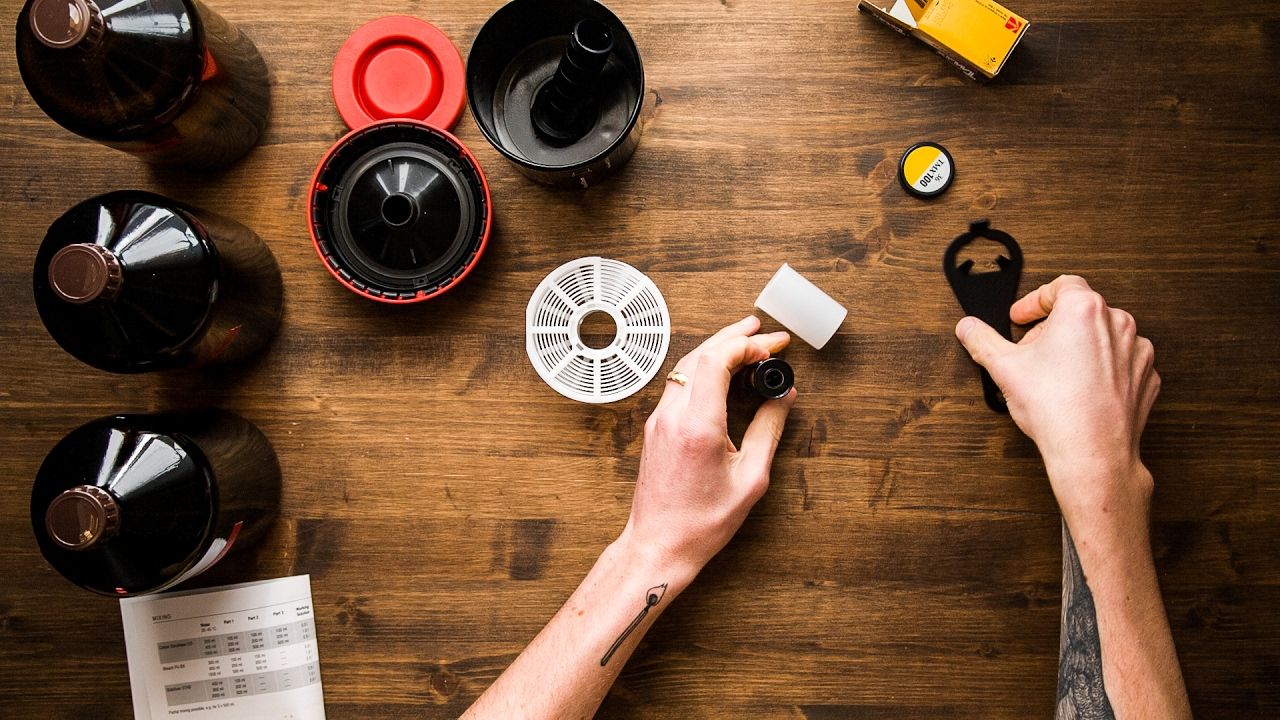
1. Load the Film into the Developing Tank
- In complete darkness or inside a changing bag, place the film onto the reel and insert it into the developing tank. Once sealed, you can work in normal light.
2. Prepare Your Chemicals
- Mix your developer, stop bath, and fixer according to the instructions on their packaging.
- Check the temperature of the developer; aim for 68°F (20°C) for most films.
3. Develop the Film
- Pour the developer into the tank and start the timer.
- Agitate the tank gently every 30 seconds for even development.
- After the recommended development time, pour out the developer.
4. Stop the Development
- Pour the stop bath (or water) into the tank and agitate for 30 seconds.
- Drain the stop bath.
5. Fix the Image
- Pour in the fixer and agitate intermittently for 5–10 minutes.
- After fixing, the film is no longer light-sensitive.
6. Rinse and Wash
- Rinse the film with running water for 5–10 minutes to remove chemical residues.
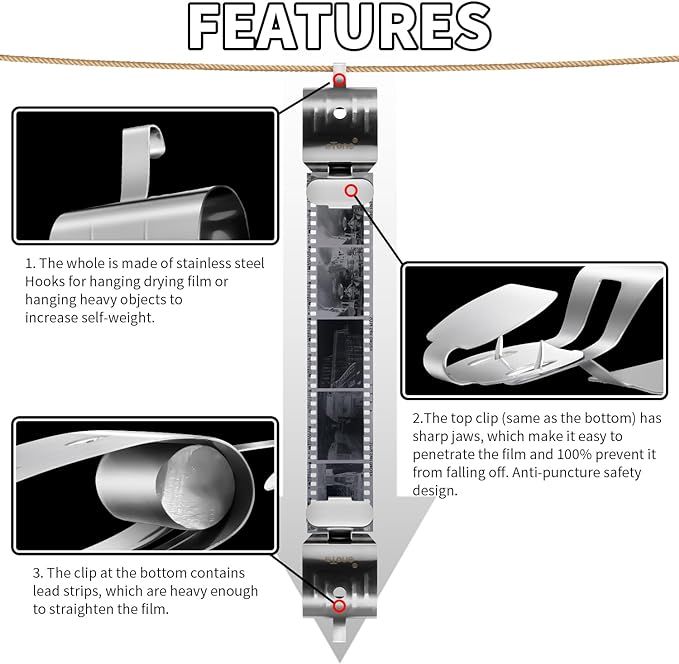
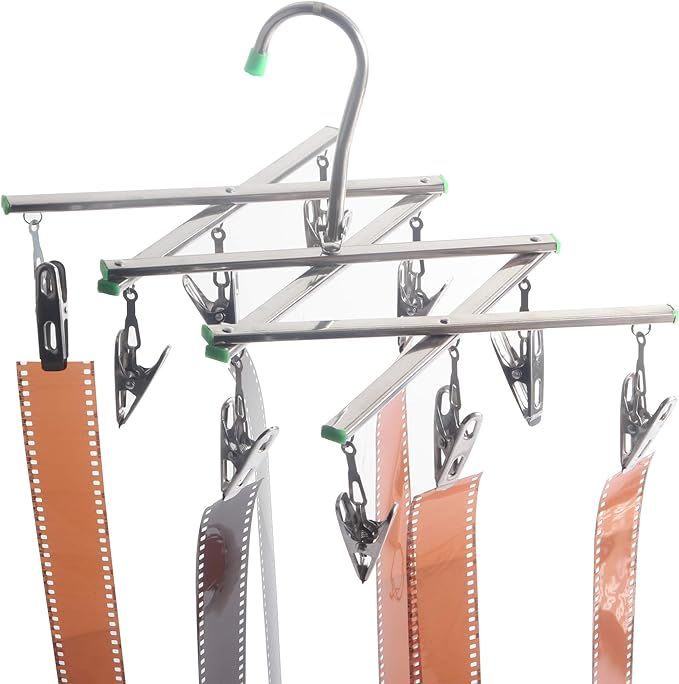
7. Dry the Film
- Hang the film in a dust-free space to dry completely before cutting and scanning.
Tools of the Trade: Equipment Checklist
Before diving into the process, you’ll need to assemble your toolkit. Here’s what you should have:
- A changing bag or a completely dark room to load film into the developing tank without exposing it to light.

- A developing tank and reels that fit your film format (35mm, 120, etc.).
- Chemicals for developing C41 film can be purchased in powder or liquid form. Kits usually include a developer, blix (bleach-fix), and sometimes a stabilizer bath.
- Thermometer to accurately measure the temperature of your chemicals.
- Storage bottles, preferably those designed to minimize air exposure and prolong the life of mixed chemicals.
Drying and Cutting: Handling Your Negatives
Once the film is fully developed and rinsed, it’s time to dry it. Hang the film in a dust-free environment and avoid touching the negatives to prevent fingerprints and smudges. Use film clips to weigh down the bottom of the strips to prevent curling as they dry. If you notice dust on your negatives after they’ve dried, gently use a soft, anti-static brush for only $7.99 to remove it. I want to emphasize that investing in certain things may not be important, but these budget-friendly tools are essential for developing film negatives.
Get one for $8.99 https://amzn.to/4bssECx
When the film is completely dry, cut it into strips. Make sure your hands and scissors are clean to avoid damaging the negatives.
Handle your negatives by the edges to prevent any oils from your fingers from getting on the images. This is crucial because oils can attract dust and may affect scanning or printing quality.
Cutting and Storing Your Negatives
Once dry, cut your negatives into strips that fit your storage sleeves. Typically, 35mm film is cut into strips of six frames. Be precise with your cuts to ensure they’ll fit neatly into the sleeves and be easy to handle later on.
Get storage sleeves right here on amazon for $22.99
Common Mistakes and How to Avoid Them
Developing film at home can be tricky, and mistakes are part of the learning process. However, some common errors can be avoided with a bit of know-how.
Contamination Nightmares: Keeping Chemicals Separate
Always use separate containers for each chemical to avoid cross-contamination. Even a small amount of developers in your Blix can ruin your film.
Over/Underdevelopment: Reading Your Results
If your negatives come out too dark or too light, it’s likely a result of over or underdevelopment. Pay close attention to your development times and temperatures to correct these issues.
Addressing Uneven Development Challenges
Uneven development can occur if the film isn’t agitated properly. Stick to a consistent agitation routine to ensure even development across the entire roll of film.
My first ever attempt to develop film at home
As a beginner, I initially lacked knowledge about the optimal camera settings for capturing the best shots. My first experience with a film roll was essentially an experiment, relying on intuition. Surprisingly, upon developing the roll, I found that most of the photos turned out better than expected. This highlighted the forgiving nature of cameras, particularly when using Black & White film.
To enhance my learning process, I meticulously recorded the settings used for each photo, allowing for a detailed analysis post-development. I had a great opportunity to study every shot.
Despite feeling anxious about developing the film for the first time, I dedicated time to watching instructional videos on platforms like YouTube. Following my preferred tutorial, I successfully processed my initial batch of film.
Watch this absolute best video that will go through a step-by-step video that gave me the confidence to try it myself!
Subscribe to Ramsey Kiefer
