")
Lesson: Darkroom Basics - Equipment and Techniques
When diving into the world of Lomography film photography, it’s essential to familiarize yourself with the darkroom equipment that will help you bring your creative vision to life. Understanding the tools at your disposal can significantly reduce the anxiety of working with film, allowing you to embrace the process without fearing failure.
Essential Darkroom Equipment:
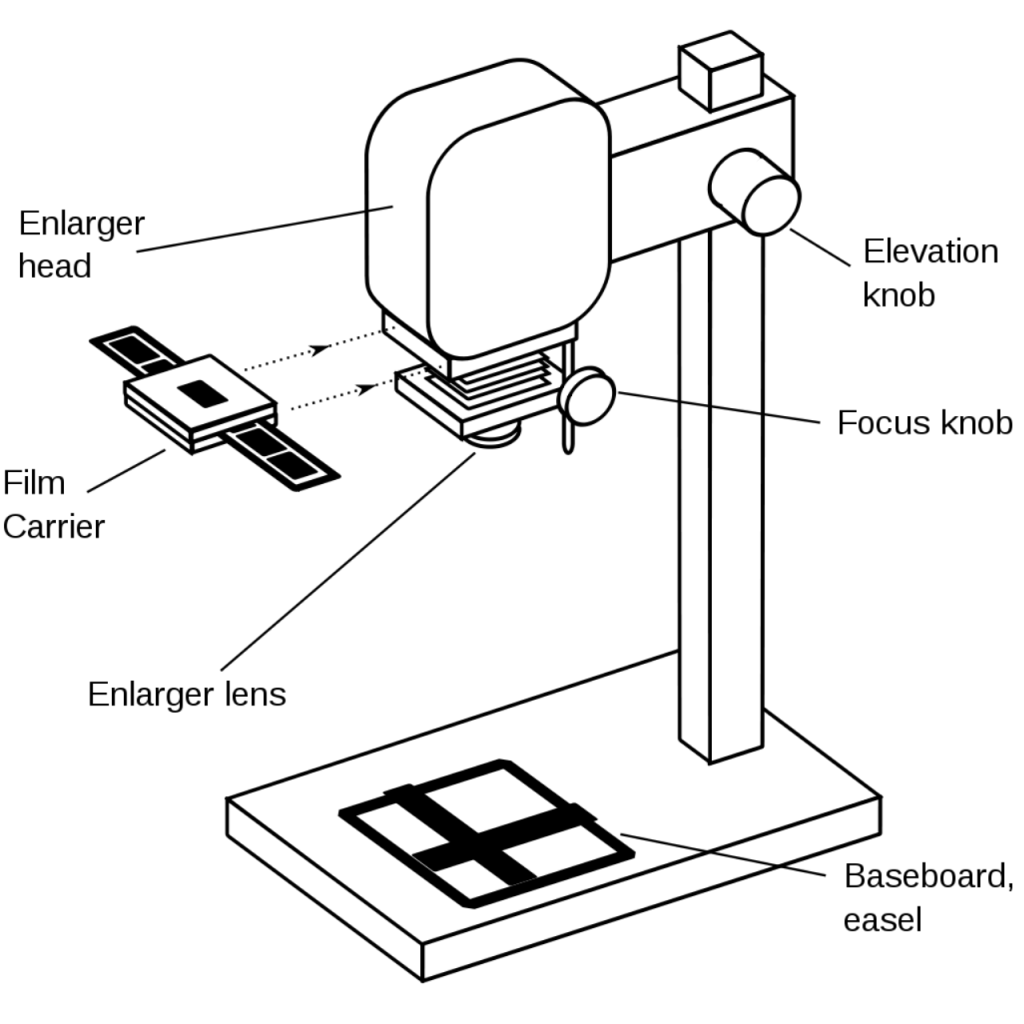
The Enlarger
- Projects negatives onto photographic paper
- Adjusts size, focus, and exposure for creative effects
- This device is crucial for projecting your negatives onto photographic paper. It allows you to control the size and focus of the image, providing an opportunity to experiment with different compositions and effects.
It doesn’t have to be an expensive new one. Many shops sell brand-new enlargers at high prices, but you can find a used one in good condition for as little as $10 to $50.
The enlarger is one of the most important tools in the darkroom. It projects the negative image onto photographic paper, allowing you to create prints. Familiarize yourself with its components: the light source, lens, and negative carrier. Knowing how to adjust the height and focus will enable you to produce sharp images. Don’t worry about getting it perfect on your first try; experimenting with exposure times will help you understand how light affects your prints.
Developing Trays
- Three essential trays for: Developer, Stop Bath, Fixer
- These trays hold the chemicals necessary for developing your film and prints. Typically, you will have separate trays for the developer, stop bath, and fixer. Using the trays efficiently is key
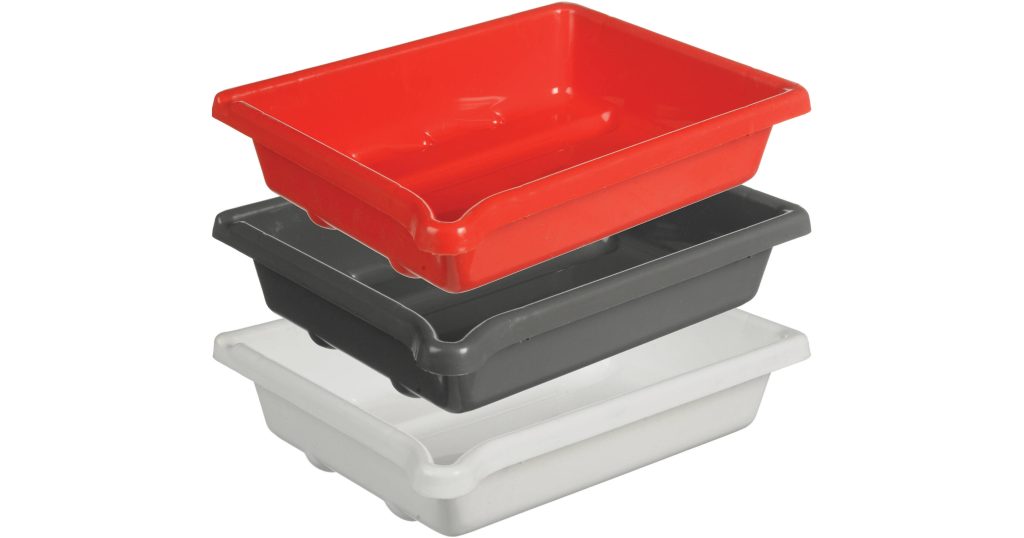
The developing trays are where the magic happens. You’ll typically have three trays: one for the developer, one for the stop bath, and one for the fixer. Each solution serves a distinct purpose in developing your photographs. Use the developer to bring your image to life, the stop bath to halt the development process, and the fixer to make your prints light-safe.
Thermometer
Temperature is also very important, especially when using the developer. A simple thermometer can help you maintain the right temperature, ensuring consistent results. If you find your prints are coming out too dark or too light, adjusting the temperature can help you pinpoint the source of the issue. Embrace these challenges as part of the learning process.
Timer
- Keeps track of exposure and development times
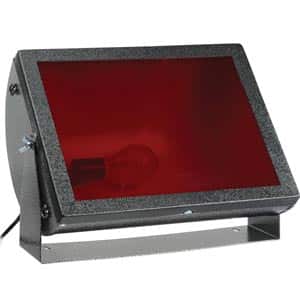
Safe Light
- This specialized light allows you to see what you’re doing without exposing your photo paper.

Drying Rack
Finally, the drying rack is essential for finishing your prints. After washing your prints, placing them on a drying rack allows air to circulate and prevents water spots. If you notice imperfections as your prints dry, take a moment to analyze what might have gone wrong during the developing process. This reflection will strengthen your skills and diminish your fear of failure.

Make sure your workspace is set up correctly. Ensure you have a darkroom or a completely dark space to avoid exposing your paper prematurely. Have all your materials ready: the enlarger, photographic paper, developer, stop bath, and fixer. This preparation will help you feel more confident as you move through the process.

Next, focus on the exposure settings of your enlarger. Start with a test strip to determine the correct exposure time for your paper. This can be done by exposing a small strip of paper for varying amounts of time (e.g., 5, 10, 15 seconds) and then developing it.
Organize Your Space: Keep your darkroom tidy and organized. Designate specific areas for different tasks, such as film loading, developing, and drying. This will minimize confusion and help you focus on your creative process.
Ensure Proper Ventilation: Chemical fumes can be harmful, so ensure your darkroom is well-ventilated. Use exhaust fans or open windows to allow fresh air circulation while you work with developing chemicals.
Use the Right Safety Gear: Always wear gloves and goggles when handling chemicals. This protects your skin and eyes from potential harm and helps you feel more secure while working.
Label Everything: Clearly label all containers and equipment with the contents and any safety warnings. This will prevent accidental misuse and ensure you can find what you need quickly, fostering a stress-free environment.
Keep a First Aid Kit Handy: Accidents can happen, so it's wise to have a first aid kit readily available. Familiarize yourself with its contents and know how to use them in case of an emergency.
Practice Proper Disposal: Learn how to dispose of chemicals safely and responsibly. Research local regulations and guidelines for hazardous waste disposal to ensure you're being environmentally conscious while maintaining safety.
Test Your Equipment: Before starting a new project, test your equipment to ensure everything is functioning correctly. This will help you avoid unexpected issues that could lead to frustration.
Embrace Mistakes: Remember that mistakes can lead to unique and interesting results in Lomography. Create a mindset where errors are viewed as opportunities for learning and creativity rather than failures.

https://www.solent.ac.uk/facilities/photography-darkrooms
By following these tips, you can create a safe and efficient darkroom environment that encourages experimentation and creativity, helping you to overcome your fear of failure in Lomography film photography.
")